Introduction
Terminal blocks are modular, insulated electrical connectors used to provide secure and reliable wire terminations in a wide range of electrical and industrial applications. Regardless of their specific design, all terminal blocks share three fundamental elements: an insulation body, a current-carrying conductor, and a wire clamping mechanism. The insulation body is typically manufactured from flame-retardant and heat-resistant materials. The current-carrying conductor, usually made of copper or copper alloys, provides a low-resistance electrical path. The clamping mechanism ensures a stable electrical and mechanical connection, preventing loosening under vibration or mechanical stress.
What is required to wire a terminal block
Proper wiring of a terminal block requires correctly prepared conductors and appropriate tools. Wires must be stripped to the specified length, free from oxidation, and matched to the rated conductor size of the terminal. Ferrules are commonly recommended for stranded conductors to improve contact quality and prevent strand damage. Correct tightening torque or insertion force is essential to ensure a reliable electrical connection.
Different types of terminal block connection methods
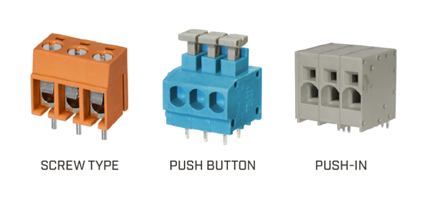
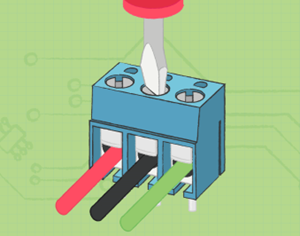
Common terminal block connection methods include screw-type (reliable for heavy-gauge wires, adjusting screws to clamp conductors), spring clamp (tool-free or tool-assisted, using spring force for secure clamping), and push-in (direct wire insertion for quick, tool-free connections, suitable for light to medium-gauge wires).
How to connect a terminal block
The general wiring process follows a standardized sequence:
- First, power off the electrical system and verify no voltage is present;
- Second, strip the wire insulation to the length marked on the terminal block (avoiding exposed conductor overhang or insufficient stripping);
- Third, insert the conductor into the terminal’s clamping area, ensuring full contact with the current-carrying bar;
- Fourth, secure the connection via the appropriate clamping mechanism (tightening screws, activating springs, or confirming push-in locks);
- Finally, conduct a visual inspection and gentle tug test to ensure the wire is secure and no insulation is pinched.
How to wire a marine terminal block
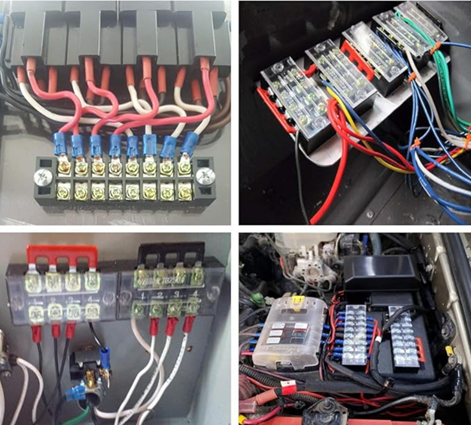
Marine terminal blocks, designed for harsh marine environments with high humidity, salt spray, and vibrations, require additional considerations during wiring: use marine-grade, corrosion-resistant terminals (with tinned copper current-carrying bars) and waterproof insulation; strip wires carefully to prevent corrosion points, and apply anti-corrosion grease to conductors if specified; ensure connections are tight to resist vibration-induced loosening, and route wires to avoid contact with sharp edges or water accumulation.
How to wire DIN rail terminal blocks
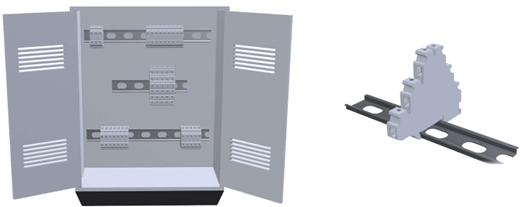
DIN rail terminal blocks, engineered for standardized mounting on DIN rails in control cabinets, follow the general wiring steps with slight adjustments: first, securely mount the terminal block on the DIN rail to ensure stability; then, route wires neatly to maintain cabinet organization, avoiding wire tangling; when connecting multiple terminals, ensure consistent conductor insertion depth and clamping force to guarantee uniform electrical performance, which facilitates later maintenance and troubleshooting.
Conclusion
Terminal blocks provide a safe, reliable, and standardized solution for electrical wiring across industrial and marine applications. By understanding their structure, wiring requirements, and appropriate installation methods—including marine and DIN rail terminal blocks—engineers can ensure stable electrical performance, improved safety, and efficient system maintenance.