Micro Inverter Installation is crucial to ensure the efficient operation of a solar energy system. In this article, we provide a comprehensive micro inverter installation guide to help you complete all the necessary steps successfully.
Preparation
Before commencing the installation of a micro inverter, ensure that you:
Perform a safety check and have the necessary safety equipment, such as gloves and safety goggles.
Prepare the required tools and materials, including screwdrivers, wire strippers, cables, and mounting brackets.
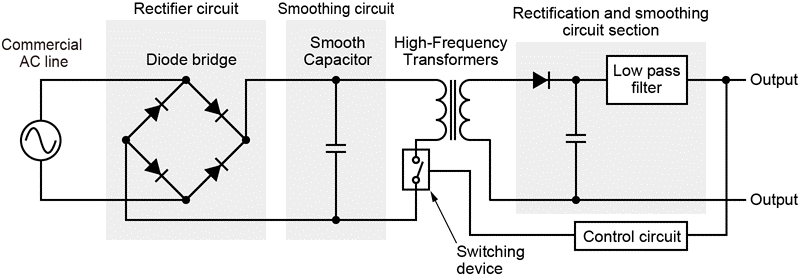
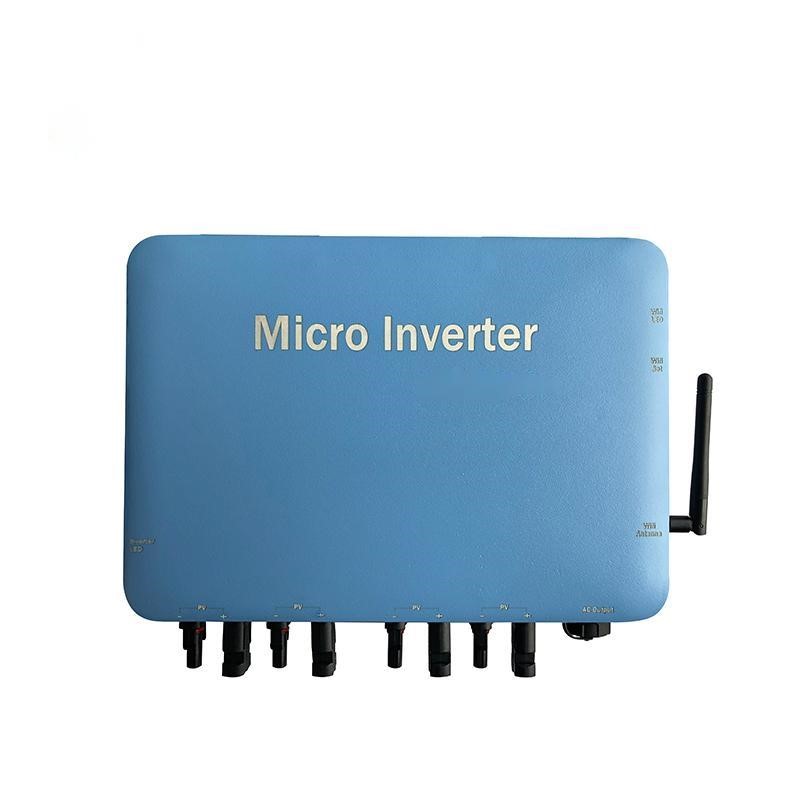
Micro Inverter Wiring Diagram
Before proceeding with the actual installation, it’s essential to understand the wiring diagram of the micro inverter. The wiring diagram displays various components of the micro inverter, their functions, and how they should be connected. Make sure you comprehend the role of each component and the correct way to establish connections.
Installation Steps
1. Selection of Installation Location
Choosing the right installation location is paramount. Ensure that the selected location receives adequate sunlight, has good ventilation, and is easily accessible for maintenance. Typically, micro inverters are installed on mounting brackets near the solar panels.
2. Mounting the Bracket
Install the mounting bracket at the chosen location to support the micro inverter. Ensure that the bracket is secure and level with the ground to prevent any rocking or instability of the micro inverter.
3. Connecting the Solar Panels
Connect the solar panels to the micro inverter. Ensure that the connections are made correctly, considering the polarity of the cables. Proper connections are crucial to ensure effective energy transfer.
4. Grid Connection
Connect the micro inverter to the grid. This is a critical step that must adhere to all safety regulations. If you are not familiar with electrical work, it is strongly recommended to hire a qualified electrician for this task.
5. Connecting to the Monitoring System
If your system has a monitoring system, connect the micro inverter to it for real-time monitoring and troubleshooting. This will help you stay informed about the system’s performance.
Safety Considerations
Safety principles should always be at the forefront of your mind. Disconnect the power at all times to prevent electrical hazards. Additionally, wear appropriate personal protective equipment such as gloves and safety goggles.
Quality Control and Testing
Once the installation is complete, perform a quality control check. Inspect all connections for tightness, ensuring there are no loose screws or cables. Also, test the performance of the micro inverter to ensure it is operating correctly.
Conclusion
A micro inverter is a critical component of a solar energy system, and its correct installation is vital for the system’s performance. By following the installation guide outlined above, you can ensure that the microinverter is installed correctly to enable the efficient operation of the system. Remember, if you are not familiar with electrical work, it is highly advisable to hire a qualified electrician to perform the installation tasks to ensure safety and performance.